 |
| Reuters |
That being said, we've been working on deconstructing the home-made solarium that is taking up space off the back of our house.

Here's how we've done it so far:
Step 1: Remove furniture, bubble wrap, plastic, carpet, plexiglass, fake wood paneling, curtains, interior gutters, hooks, string, etc.

Step 2: Attempt to figure out exactly how the structure is constructed.

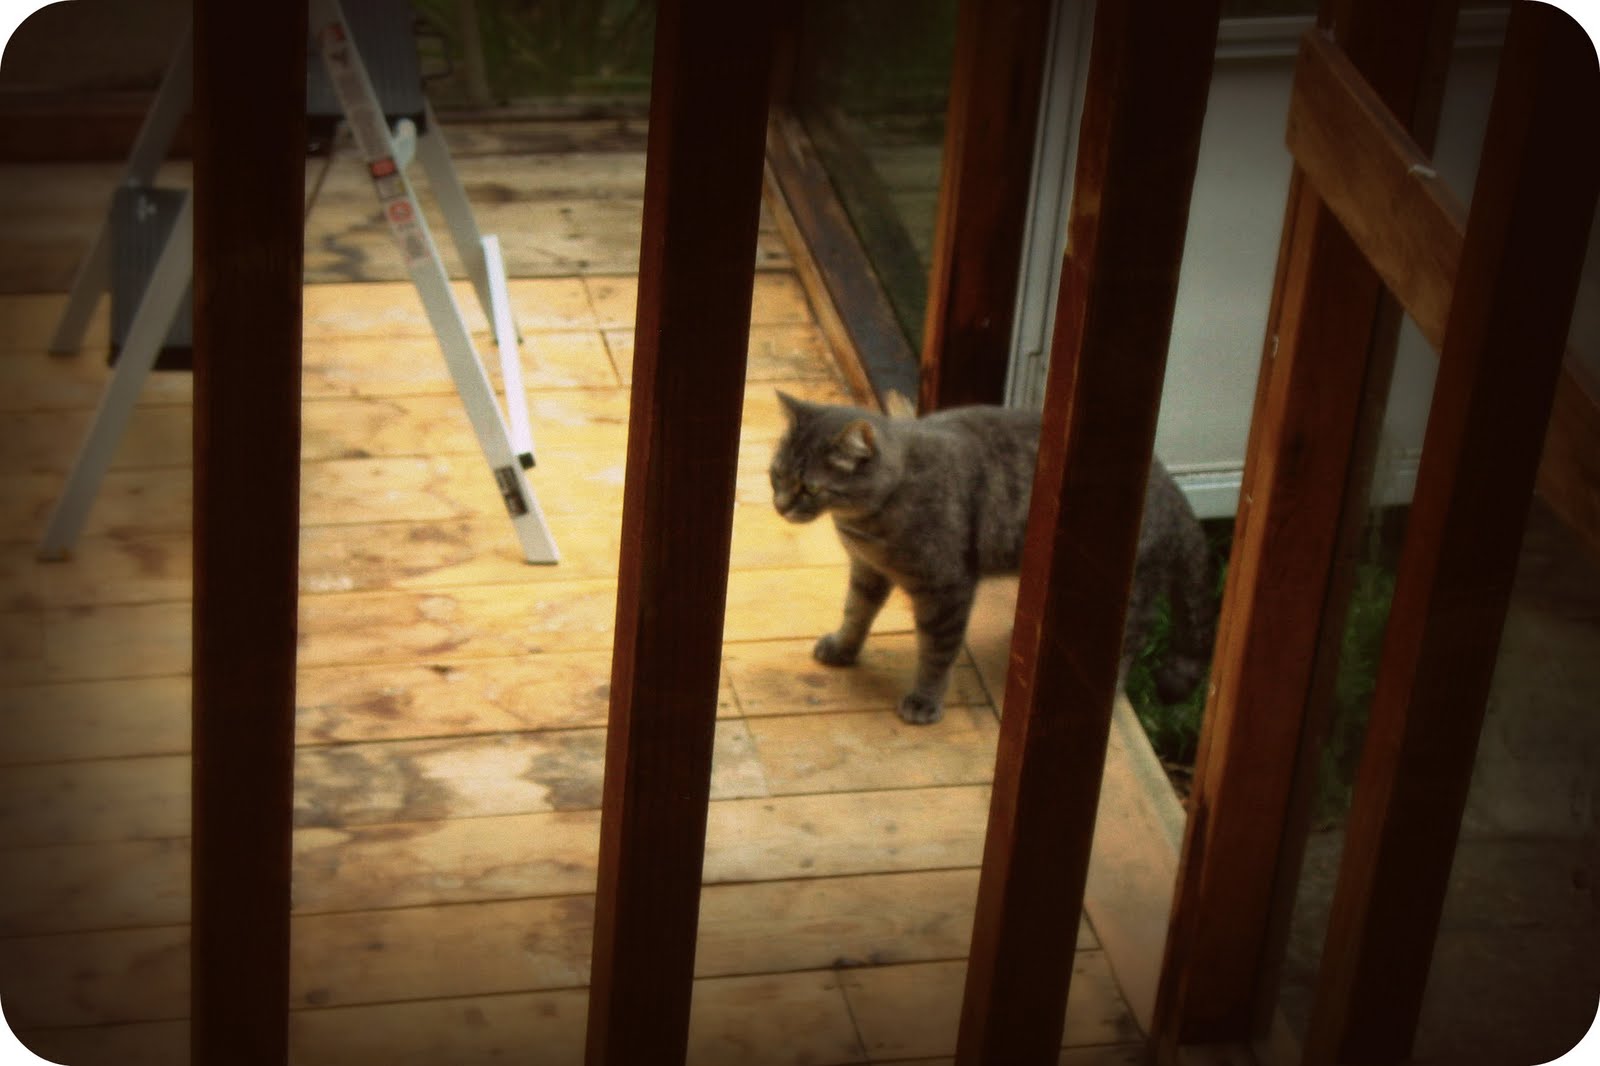
Step 3: Have a visit with a kitty (stray or otherwise).
Step 4: Remove glass panes.

Step 5: Check to see if glass is tempered.

Step 6: Assess the damage (and stop the bleeding, if necessary).

Step 7: Take some artsy photos.

Step 8: Clean up the mess.

Step 9: Repeat steps 3 through 8 as desired.


Step 10: Remove any unwanted/extremely dangerous spiked bushes.

Step 11: Continue to remove support pieces as desired and enjoy the view.

Step 12: Sort wood. Determine what you can or want to reuse, sort the rest by recycling center standards. Some centers may not accept wood with paint or nails.

Step 13: Carry on as desired. We decided to leave the base and roof of our sunroom as a work area for other house projects. For now.

The deck will give us a good place to work on sanding and painting projects outside of the house and the cover will offer protection. Having the windows and many of the support beams out, however, makes the area a hundred times cooler and much nicer to look at.
On a serious note, do check to see if glass is tempered before moving it around. From experience (we lost two out of nine panes) we recommend wearing gloves, long sleeves and eye protection for moving any type of glass, but our injuries (we just had a few scratches) would have been far worse had the glass not been tempered.
In case you're wondering, the cost of this deconstruction project was a full $0. Our big savings was not having to rent a dumpster as we had originally planned. Once everything is down and sorted we'll take a trip in our car or borrow a neighbor's truck to bring the wood in for recycling. Anything that we have thrown out fit in our trash can for weekly pickup. Anything that we can't recycle we plan to put on craigslist.org or freecycle.org and hope for some takers.
We hope you enjoyed our tutorial!
No comments:
Post a Comment