Friday, July 8, 2011

Cats in the Home

Apartment Therapy
Although we don't have a dog in our lives at the moment we really do love all pets and want to include cat lovers and dog lovers alike in this post.  That being said, cat owners will understand:  sometime being a crazy cat person is just unavoidable.  As admitted crazy cat people, we wanted to share a little about how our cats are adjusting to the new house.  Cat lovers never seem to fear including their cats in photos of their homes, so we thought we'd share a few of our favorite shots of cats in while we're on the subject.

Design Sponge
Our first kitty is Orchid.  Orchid is our black short hair who we got from the Oregon Humane Society just a few months after we moved to Portland.  She was just over a year old when we got her and she was so tiny and adorable!


Our second cat is Mia, our white and gray longhair.  We adopted her from a friend who sadly had to find new homes for her cats due to health problems from allergies.  We were glad to take her and keep her close to her original owner.  Mia was seven when she moved in with us and over the last two years she has become a part of the family.
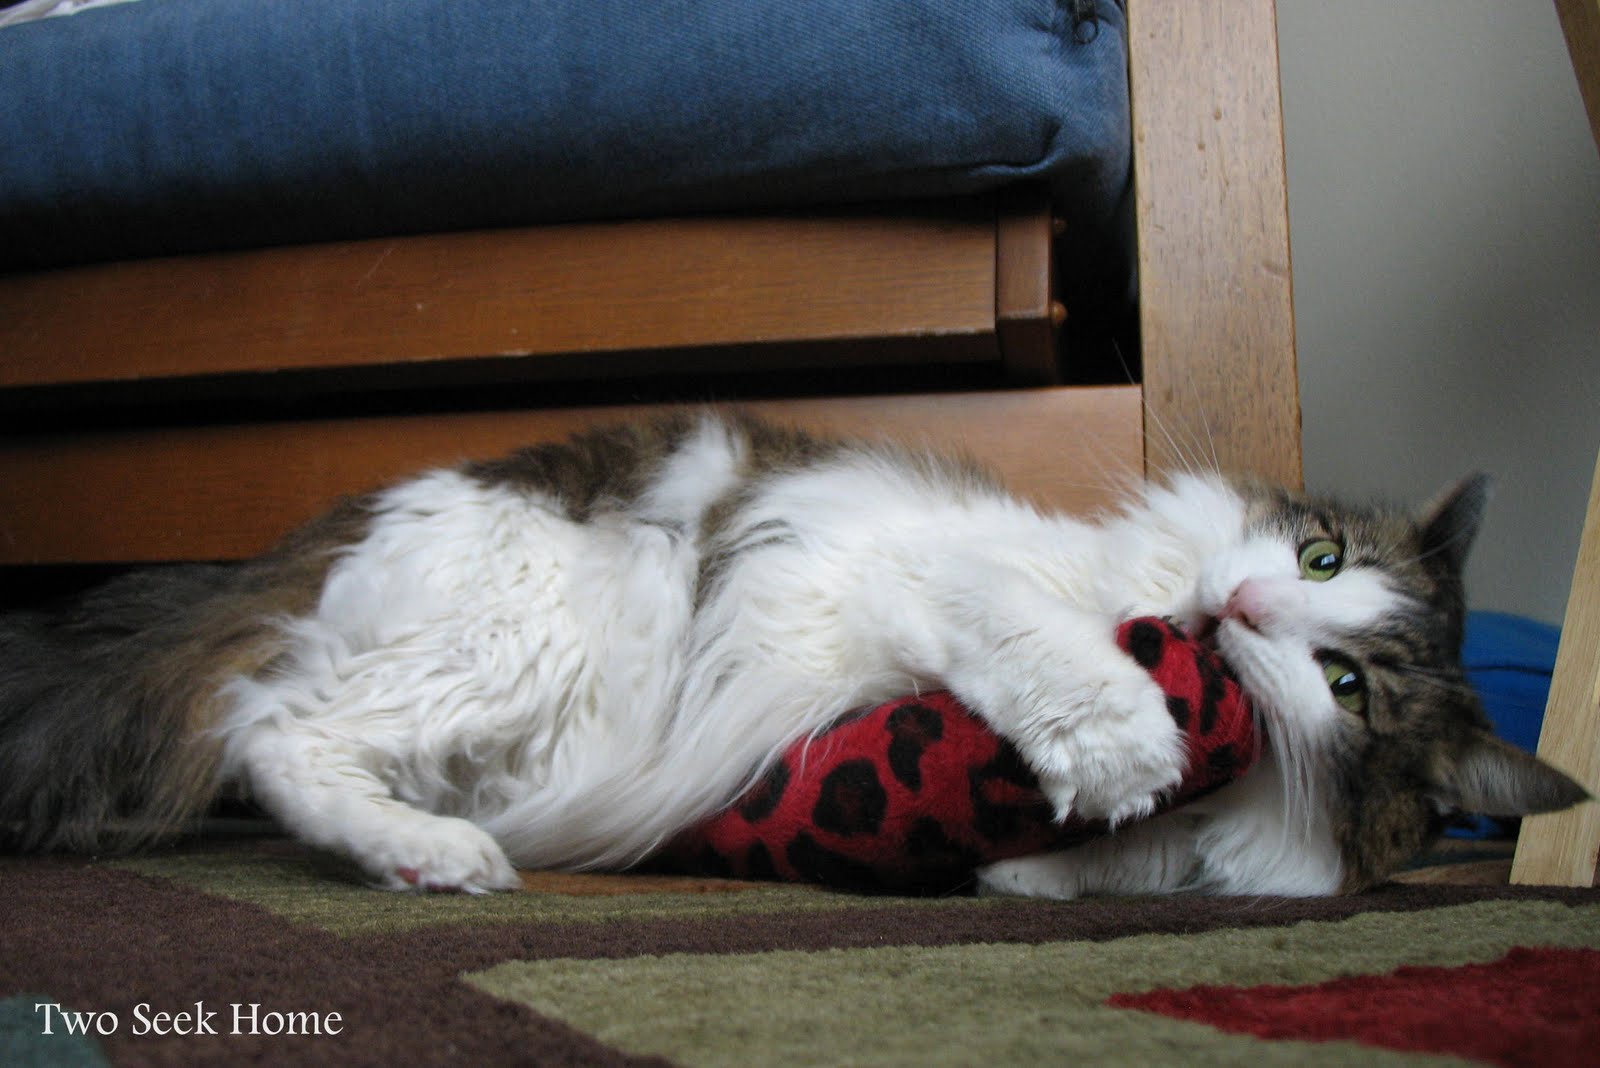

Orchid and Mia have become very good friends and we were glad that we were able to move them together.  Orchid showed some signs of sadness for a few day after the move, but she was eating, drinking, using the litter box and responding normally to us so we knew that she would be okay.  Here are some good tips for moving pets:

Introduce pets to their new environment slowly.  We chose one room that we didn't need to be using right away and made it the temporary "cat room."  We put their litter box, food, beds and toys all in this room and confined them to this small area right away.  In this room they had a safe space to become accustomed to the smell of their new home and had the opportunity to familiarize themselves with where their litter box will be for a while.  Did you know that you should never put a cat's food too close to their litter box?  Since we're keeping both in this room for now we were sure to put them at opposite ends of the room.


Surround pets with familiar objects.  In addition to all of "their things," we also put one of the soft chairs that the cats frequently sleep on in the room.  Sure enough, we often come in to find one of the cats curled up on this familiar spot. 

Show pets the good things about their new home.  As our cats have ventured further from their room in their first week here they have enjoyed discovering and lounging in all the windows in the house. 


Let them explore (safely).  As you know, our kitchen is under construction, so for the time being we've had limited rules about cabinets and counter-tops.  We just make sure all the tools are safely unplugged and screws and nails are stashed away.  We've yet to allow them into the basement (except for a sneaky dash down the steps by Mia last night) until we have a chance to get rid of all the dangerous materials left down there by the previous owners.  We still keep them safely shut away from unpacked boxes and bags at night and when we're not home, but the rest of the time they're having a lot of fun checking out every corner of their new home.


Let them be a part of the home.  Our kitties are indoor cats for the most part, they are flea-treated as a precaution and for their occasional supervised stints outdoors and we bathe them regularly so we know they aren't carrying around a lot of excess dirt, dander or pesky friends.  Because of this, they are allowed just about everywhere in our house.  If you allow it, cats can become part of the decor.

Dwell
Funky Junk Interiors
Apartment Therapy

Thursday, July 7, 2011

Washer and Dryer Platform on the Cheap


Last week we finished up our washer and dryer platform project and over the weekend the new machines were delivered!  We made a few mistakes and learned a few things but overall the project turned out pretty well.

When we started out it would have been all but impossible to put a washer and dryer in the area where the hookups were.  The previous owners had poured a concrete platform for a dryer, but it was far too small for our large new dryer.  The washer had apparently been balanced on two pieces of wood over an old sunken floor drain.  Since we were having the sewer replaced anyway, which involved digging up the basement floor to lay new pipe, we paid a little bit extra and and had the floor drain moved to the center of the room.  The project, however, still left a substantial dip in the floor where the old drain had been and our new washer needed to go and of course there was still that small platform where the dryer needed to go.


We considered a few possible options.  We could have poured a full concrete platform for our new washer and dryer to sit or we could have built a wooden platform over the whole area, but we ended up deciding on a combination of the two.  We are planning on finishing the basement eventually, so we didn't want something as permanent as a concrete platform and we weren't sure that we had the tools or skills to build a level wooden platform on such an un-level surface.  Since the entire basement will eventually have to be leveled anyway, we decided to level out washer and dryer area with concrete and build a simple and inexpensive platform over the existing concrete platform.

We started out with a bag of concrete that the sewer contractors left behind to fill in the deepest part of the dip in the floor (check out a little more on this part of the project here).  We cleaned the whole area thoroughly and brushed away any crumbling concrete from around the old platform with wire brushes.  The floors are painted so we used a paint scraper to scrape away as much of the paint as we could.  We coated the whole area with bonding concrete primer per the instructions on the bottle using a long handled paint roller.  We mixed the concrete per the instructions on the bag, poured it into the deepest area and leveled it out as best we could using a garden rake, mason trowel and wood float.


One 80 lb bag of concrete doesn't cover much ground when you're trying to fill in an area that is at least two inches lower than the rest of the floor.  To increase the area that is level we used a multi-purpose concrete that can be mixed to be pourable and self-leveling.  We just cleaned and primed the whole area again and poured the concrete right down.  It flowed out to fill the area and leveled itself perfectly with almost no work on our part.  The only challenge at this step was that we chose a quick-setting concrete which we found very difficult to work with.  Working quickly tends to be something that comes with experience and we found that the concrete was beginning to set in the buckets while we were still trying to figure out if we had reached the right consistency.


Once we had a level surface to work with, the rest was easy.  We opted to spend a little extra on a pre-treated piece of 3/4" plywood so that we wouldn't have to worry about warping or water damage.  The kind folks at Home Depot were nice enough to cut the board to the right size for us.  Because our project is temporary, however, we decided not to spend a lot of money on the construction of the platform.  We used the existing concrete platform as part of the support for the new platform and just used inexpensive wood shims to support the rest of the platform.  We drilled a couple wood screws into the shims to keep the whole thing together and it looks like it will last us a little while.


Now that the project is complete, there are a couple weaknesses that we've identified:

The shims are not very sturdy and most of them cracked when we drilled screws through them (despite the fact that we drilled pilot holes first).  They definitely will not be a long term solution, but seem to be holding up fine for now. 

After the washer and dryer were delivered, we noticed that the new concrete had cracked in a few places.  We think that this is probably due to adding too much water when we were mixing it.  Based on this experience, unless we gain some more concrete knowledge along the way, we will probably bring in professionals when it is time to level the whole basement floor.  Fortunately our washer and dryer are designed to minimize vibrations so both the shims and the concrete should be okay for now.

Overall we think we achieved a pretty good balance of functionality and cost effectiveness.  Here is the final cost breakdown of the whole project (not including the washer and dryer):


Wire Brushes:  $12
Paint Scraper:  Purchased for other projects
Bonding Concrete Primer:  $15
Paint Roller:  Purchased for other projects
Paint Roller Cover:  $5
80 lb bag concrete:  Free (left by sewer contractors)
50 lb bag multi-use concrete:  $19
Concrete Mixer Drill Attachement:  $13
Buckets, Mason Trowel & Wood Float:  $22
Shovel:  Free (left at house by previous owners)
Garden Rake:  Purchased for other projects
Total cost to level the floor:   $86

Treated 3/4" Plyboard:  $46
6 sets of shims:  $9
Wood Screws:  $3
Total cost of Platform:  $58

Grand Total for our Washer and Dryer Platform Project:  $144

Wednesday, July 6, 2011

Moving Out and Moving In


Welcome to our brand new chaotic home!  Now that we're fully moved out of the old apartment and into the new house, this is approximately the state that we'll be living in for the next few months.  Moving into a fixer will be fun, challenging, and eventually rewarding, but for the moment it is just making things complicated.  We can't dive right into unpacking because we have a lot of fixing that still needs to be done.  Click to keep reading for some tips and tricks that have worked for us and that we have learned along the way for moving and keeping the chaos as manageable as possible:

Monday, June 27, 2011

Kitchen Progress

One of our priorities for the last few days before we have to be fully moved in to the house is kitchen.  We want to get the kitchen as clean and as finished as we can so that we are able to use it once we are living in the house.  There's no way that a full kitchen remodel will be in our budget anytime soon so the plan is just to strip and paint the walls and cabinets to make it as pretty as possible for now.

The kitchen before:


We've made some progress but also hit a few snags along the way.  Click to keep reading and see what we've been working on!

Saturday, June 25, 2011

Fun With Concrete

This week we had some family in town, but we still managed to get a little work done on the house.  One week from today our brand new washer and dryer are going to be delivered, so one of our top priorities is to create a level surface for them to sit on.  The area where we plan to put the dryer was the lowest point in the basement and was the location of a very old, sunken drain.  When we had the sewer replaced last week we had them move the drain a few feet out, but the area was still much lower than the rest of the basement floor (including the location of the new drain).


Friday, June 17, 2011

Garden Variety


Hi Folks, I just wanted to share some pictures from our new garden that I took in the last coupled days.  At some point we're going to have to get out there and start weed-whacking, but for now it is just a jungle of flowering smelling goodness.  For the most part we have no idea what's back there... I received the official garden tour from the previous owner before we bought the house but I should have been writing it down or something because it's all lost now.  I know that there are roses, pansies, lilies of some sort, wild orchids, raspberries, blueberries, strawberries, figs, rhubarb, potatoes and garlic among many other things I'm sure, but aside from the obvious I couldn't tell you what is what.  So here are some photos of our future project in it's current state.  If anything jumps out at you, please feel free to comment below and let us know what it is.  Otherwise just send a lot of green thumb vibes our way.  We will need it!  - Caroline

Click for more garden photos after the jump!!

Thursday, June 16, 2011

Sewer Time!


Yeay!  Welcome to our first official post as homeowners!!  We went to the title company on Monday and signed all the paperwork and on Tuesday afternoon we got the keys!  Now that the house is ours it's down to business.  Yesterday we started the sewer repair process.  The neighbors have already disconnected their sewer pipe from ours, so all we have to do is replace ours.  The current pipe exits out the back of the house and circles around the side out to the street, so we are completely removing the old pipe then laying a new, shorter pipe exiting out the side of the house.  The whole process amazingly involves only a few holes.  They dug one hole in front of the house where our pipe connects to the main line, one along the side of the house at the exit point and one in the basement where the pipe will be coming through to hook up to the plumbing.  Everything else happens underground.  Apparently they just suck the old pipe out and shove the new one right through.  It's all pretty impressive.

Saturday, June 11, 2011

Price Tag

We invite you to listen to the following and consider it a soundtrack to this post :)


Yesterday we received a copy our final closing paperwork to review and had the pleasure of going to the bank and getting the cashier's check for the closing!  We are signing the paperwork and paying our down-payment first thing Monday morning and now we are all prepared.  

Wednesday, June 8, 2011

Purple in the Kitchen


In between packing I've been doing a lot of thinking about decorating the new house.  One of the first projects we'll have to tackle will be the kitchen.  We want to take advantage of the overlap of the house and apartment to make the kitchen livable before we have to start bringing in food and dishes.  I've always been a fan of light, bright kitchens, but for some reason my mind has been stuck on dark wall colors with the kitchen's already light cabinets and countertops.  Maybe I'm remembering Joi's dark gray kitchen with her white cabinets:

Thursday, June 2, 2011

The Appraisal and Moving Forward

 
Today we finally received the report from the appraisal company.  The report brought great news, confirming that the house is worth the price we are paying for it.  In fact, the price we are paying is slightly lower than nearby comparable sales, so that's good news for us!  This is also good news because we can now be confident going forward that we really are getting a new house!

Related Posts Plugin for WordPress, Blogger...